
This week was my friend's birthday. I really wanted to make her something special. She always makes these wonderful cakes for everyone's birthday. So, I thought it was only right that she had a beautiful cake for her birthday. My mission this week was to create a card, cake and gift that all coordinated.


Card "Ingredients"
The Stamps
Stampin' Up! Printed Petals
Stampin' Up! Upsy Daisy
The Colors
Stampin' Up! Garden Green
Stampin' Up! Wild Wasabi
Stampin' Up! Certainly Celery
Stampin' Up! Wisteria Wonder
Stampin' Up! Elegant Eggplant
The Embellishments
Stampin' Up! Rhinestone Brads
The Tools
Stampin' Up! Perfect Polka Dots Textured Impressions Embossing Folders
Stampin' Up! Decorative Label Punch
Stampin' Up! Labels Framelits
Stampin' Up! Scallop Circle #2
Stampin' Up! Itty Bitty Shapes Punch Pack
Stampin' Up! Tasteful Trim Bigs XL Die
Frame "Ingredients"
The Stamps
Stampin' Up! Elements of Style
Stampin' Up! Kindness Matters
Stampin' Up! Eastern Blossoms
Stampin' Up! Pocket Silhouettes
Stampin' Up! With All My Heart
The Colors
Stampin' Up! Garden Green
Stampin' Up! Wild Wasabi
Stampin' Up! Certainly Celery
The Tools
Stampin' Up! Clear Embossing Powder
Stampin' Up! Heat Tool
Stampin' Up! Sponge Daubers
Cake "Ingredients"
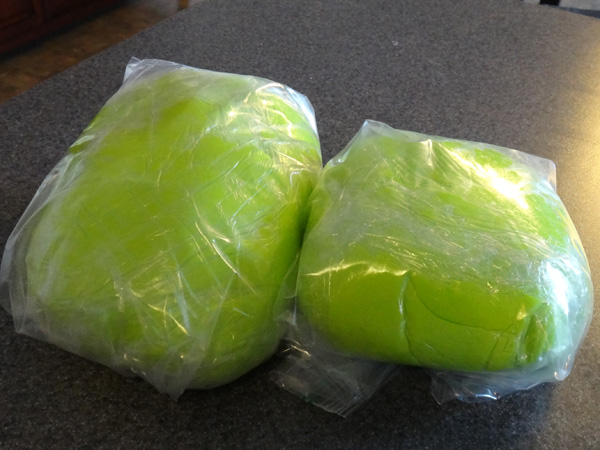
I also documented the entire process of making the cake. It was quite a process. The first step was making the fondant. I made both purple and green fondant.
Next, I made all the flowers for the cake. They need to sit and dry so it's best to make them a few days ahead of time. I made both hydrangeas and roses.


The next step was making the buttercream frosting and the royal frosting.
 |
| Got all my ingredients together for the buttercream |
 |
| It takes a lot of buttercream to put this cake together. |
 |
| Then I got all my ingredients together for royal frosting |
 |
| I use royal frosting to attached the flowers |
I bake the cakes after making the fondant, flowers and then the frosting. Yes, I use cake mixes. I've tried making cakes from scratch before and I just don't find them any better compared to a cake mix. So, I save time and use boxed cake mixes.
 |
| Got everything ready to make my cakes |
After getting all the layers of the cakes baked, I then leveled each layer. Each tier has three layers.
 |
| Wow, that's a lot of cake |
Once the cakes are leveled and cooled, I then frost the cakes.


The fondant can then be rolled and applied to the cake.


I let the cakes set up overnight before stacking them. This allows the buttercream and the fondant to firm up which makes the cakes easier to handle.

 |
| I use straws for support. |
 |
| I think stacking is the most nerve wracking. |
Once I got the cakes stacked, I tinted the remaining buttercream a light purple. I used the light purple buttercream to add trim around the cake.


I finally got to the really fun part -- decorating. I added the roses to the top of the cake and then started putting the hydrangeas around the cake.


After 15 hours of work, I had the finished cake!

While it was a lot of work, it was totally worth every minute. My friend loved the card, cake and frame.
Unbelievable! You are so gifted!
ReplyDelete